DIY Christmas Pictures 2024: Capture the Magic with Personalized Creations
Related Articles: DIY Christmas Pictures 2024: Capture the Magic with Personalized Creations
- Christmas Outfits For Dogs 2024: A Guide To The Most Festive Looks
- Christmas Party Reading 2024: A Festive Literary Gathering
- Christmas Outfits Tumblr 2024: A Guide To The Most Stylish Holiday Looks
- Christmas Party Favors For Adults 2024: Unforgettable Keepsakes For A Memorable Night
- Christmas Party Quiz Ideas 2024: Festive Fun For All
Introduction
In this auspicious occasion, we are delighted to delve into the intriguing topic related to DIY Christmas Pictures 2024: Capture the Magic with Personalized Creations. Let’s weave interesting information and offer fresh perspectives to the readers.
Table of Content
Video about DIY Christmas Pictures 2024: Capture the Magic with Personalized Creations
DIY Christmas Pictures 2024: Capture the Magic with Personalized Creations
As the festive season approaches, it’s time to embrace the joy of Christmas and create cherished memories that will last a lifetime. One way to make this Christmas truly special is to engage in the heartwarming tradition of DIY Christmas pictures. Whether you’re a seasoned crafter or a novice enthusiast, there’s a plethora of creative ideas to inspire your festive endeavors.
In this comprehensive guide, we present an array of DIY Christmas picture ideas that cater to all skill levels. From whimsical photo booth props to stunning canvas masterpieces, you’ll find everything you need to capture the magic of Christmas in a truly unique and personalized way.
1. Festive Photo Booth Props
Photo booths are a staple of any Christmas gathering, providing endless entertainment and creating lasting memories. Elevate your photo booth experience with DIY props that add a touch of holiday cheer to your pictures.
- Reindeer Antlers: Craft festive reindeer antlers using pipe cleaners and felt. Simply bend the pipe cleaners into an antler shape and wrap them in felt for a cozy touch.
- Santa Hats: Create jolly Santa hats using red felt and white cotton balls. Sew or glue the felt into a cone shape and add a white cotton ball trim for the pom-pom.
- Gingerbread Man Garland: Bake gingerbread cookies in various shapes and sizes. Thread them onto a string to create a charming garland that can double as a photo booth backdrop.
- Candy Cane Sticks: Make oversized candy cane sticks using pool noodles and red and white duct tape. Wrap the duct tape around the pool noodles to create the classic candy cane design.
2. Canvas Christmas Scenes
Capture the essence of Christmas with painted canvas scenes that evoke the magic of the season. These masterpieces will add a touch of festive charm to your home and become cherished keepsakes.
- Winter Wonderland: Paint a serene winter wonderland on canvas, complete with snow-covered trees, twinkling stars, and a cozy cabin. Add details like a sled or ice skates to bring the scene to life.
- Santa’s Workshop: Create a whimsical Santa’s workshop on canvas, filled with elves, presents, and the jolly old man himself. Paint in vibrant colors to capture the excitement and joy of Christmas Eve.
- Nativity Scene: Depict the timeless story of the nativity in a painted canvas scene. Use warm colors and soft brushstrokes to create a peaceful and reverent atmosphere.
- Poinsettia Painting: Paint a vibrant poinsettia, the iconic Christmas flower, on canvas. Use bold colors and intricate details to capture the beauty and elegance of this festive bloom.
3. Paper Plate Christmas Crafts
Paper plates are a versatile and budget-friendly material for creating adorable Christmas crafts. Let your imagination run wild and transform these everyday items into festive decorations and ornaments.
- Santa Paper Plate: Create a jolly Santa Claus face on a paper plate. Use red paint for the hat and white paint for the beard. Add details like a rosy nose, twinkling eyes, and a fluffy mustache.
- Reindeer Paper Plate: Turn a paper plate into a whimsical reindeer by painting brown antlers and a red nose. Add googly eyes and a pom-pom for the finishing touches.
- Snowman Paper Plate: Paint a paper plate white to create a snowman. Add black buttons, an orange carrot nose, and a cheerful scarf for a festive touch.
- Christmas Tree Paper Plate: Cut a paper plate into the shape of a Christmas tree. Decorate it with green paint, glitter, and colorful ornaments to create a unique and personalized Christmas tree.
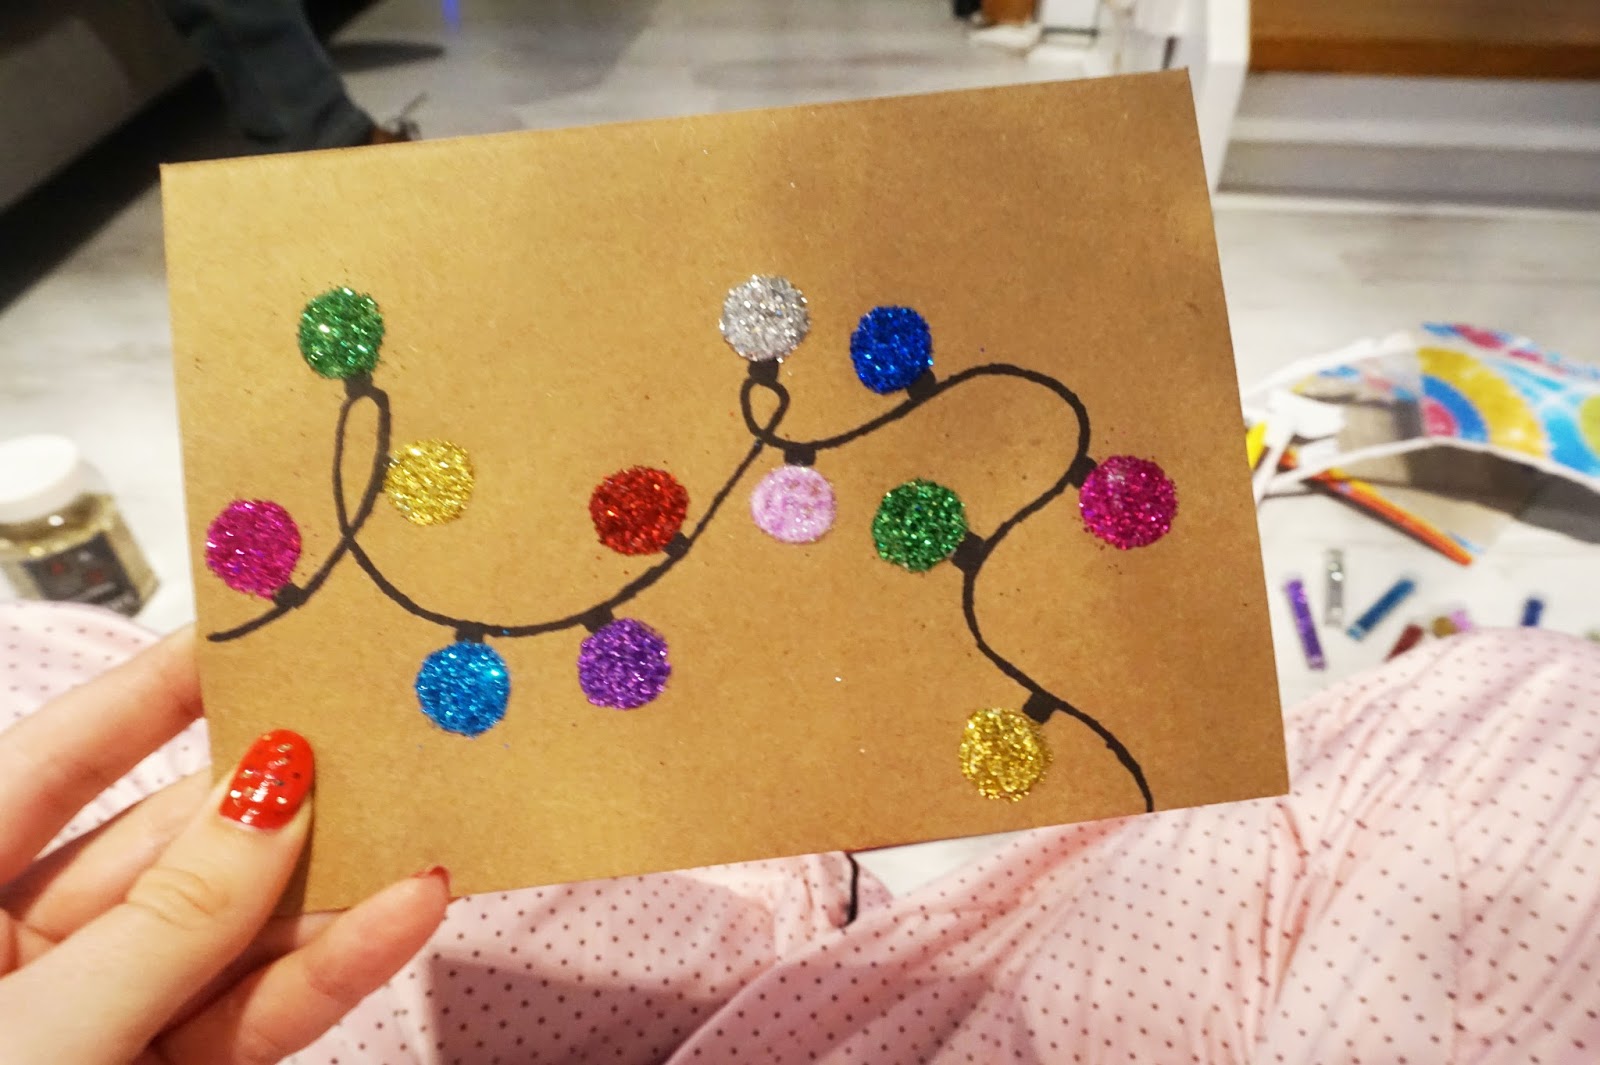
4. Christmas Card Creations
Spread the joy of Christmas with handmade Christmas cards that express your creativity and warm wishes. These personalized cards will bring a smile to the faces of your loved ones.
- Pop-Up Christmas Card: Create a festive pop-up Christmas card using cardstock and patterned paper. Cut out a Christmas tree or a Santa Claus figure and attach it to the inside of the card to create a delightful surprise.
- Embroidered Christmas Card: Embroider a Christmas-themed design on cardstock or fabric. Stitch a snowflake, a reindeer, or a Christmas stocking to add a touch of elegance and charm to your card.
- Quilled Christmas Card: Create intricate Christmas designs using quilling paper. Roll and shape the paper into festive shapes like ornaments, stars, and snowflakes. Arrange them on a cardstock background to create a unique and eye-catching card.
- Origami Christmas Card: Fold origami paper into Christmas-themed shapes like Santa hats, reindeer, or Christmas trees. Attach the origami creations to a cardstock background and add a festive message.
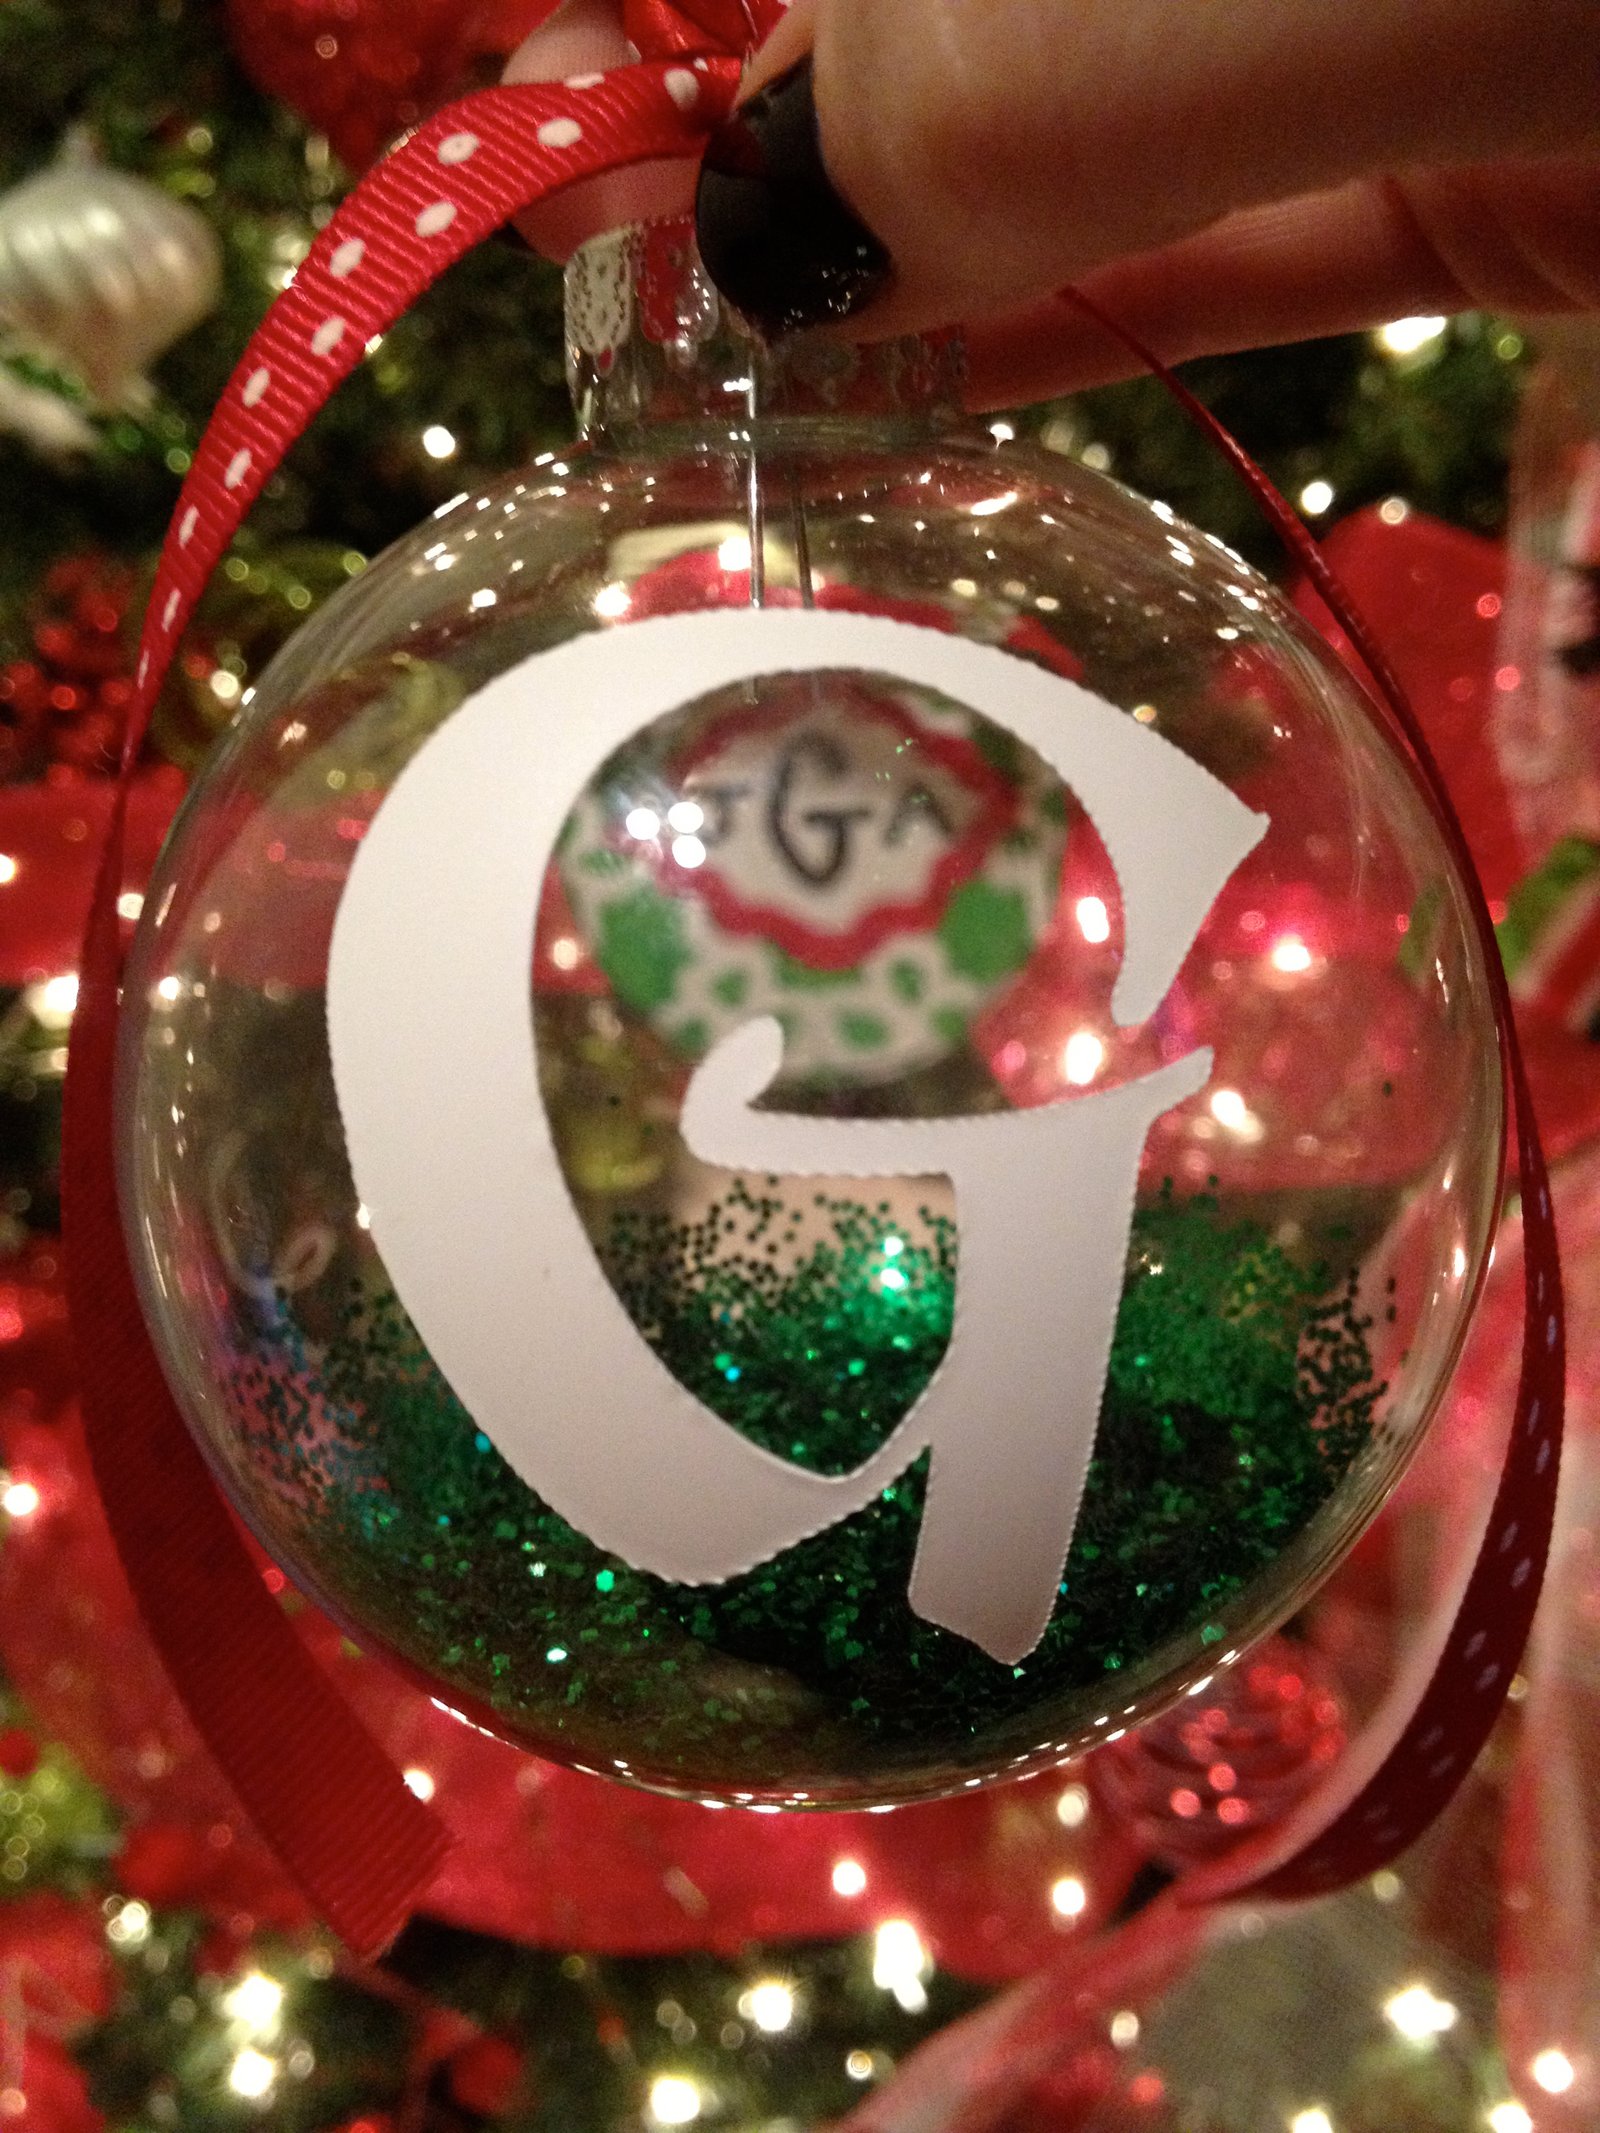
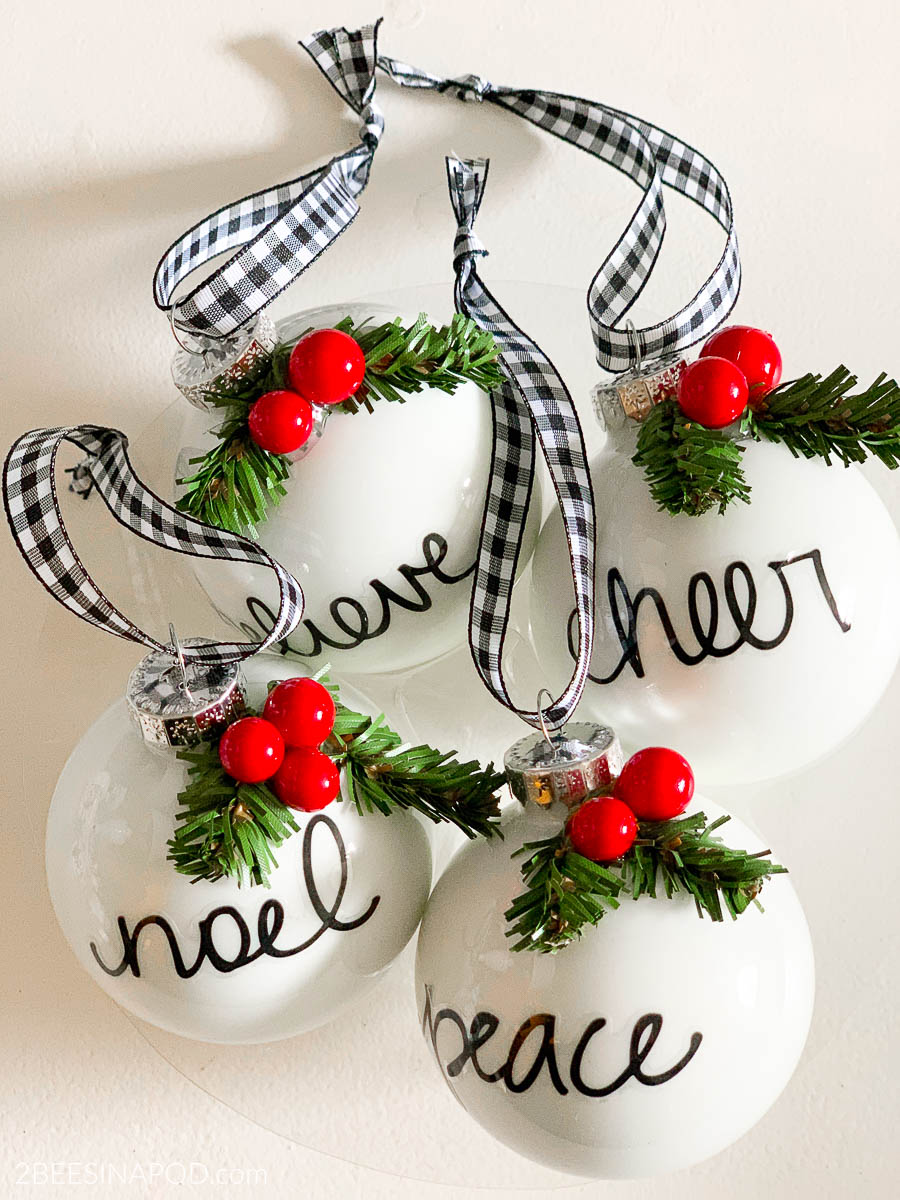
5. Christmas Ornaments
Create personalized Christmas ornaments that will adorn your tree with unique charm and sentimental value. These handmade ornaments will become cherished keepsakes that you’ll treasure for years to come.
- Salt Dough Ornaments: Mix flour, salt, and water to create salt dough. Roll out the dough and cut out Christmas shapes using cookie cutters. Bake the ornaments in the oven and decorate them with paint, glitter, and ribbons.
- Felt Christmas Ornaments: Cut out felt shapes like stars, hearts, or Christmas trees. Sew or glue the felt pieces together and add embellishments like beads, sequins, or embroidery.
- Wooden Christmas Ornaments: Paint or stain wooden ornaments in festive colors and designs. Add details like glitter, decoupage, or wood burning to create unique and personalized ornaments.
- Beaded Christmas Ornaments: String beads onto wire or thread to create intricate Christmas ornaments. Form the beads into shapes like snowflakes, candy canes, or Christmas trees and add embellishments like charms or tassels.
Tips for Creating Stunning DIY Christmas Pictures
- Plan Ahead: Gather your materials and plan your designs in advance to ensure a smooth and successful crafting experience.
- Use High-Quality Materials: Invest in good-quality materials like paints, brushes, and paper to achieve vibrant and long-lasting results.
- Pay Attention to Details: Take your time and pay attention to the details to create polished and professional-looking pictures.
- Experiment with Different Techniques: Don’t be afraid to experiment with various techniques like painting, drawing, papercraft, and embroidery to create unique and personalized designs.
- Personalize Your Creations: Add your own personal touch to your Christmas pictures by incorporating family photos, handwritten messages, or special embellishments that hold sentimental value.
Embrace the magic of Christmas with these DIY Christmas pictures. Whether you choose to create festive photo booth props, paint canvas scenes, craft paper plate ornaments, or design personalized Christmas cards, these ideas will inspire you to capture the joy and wonder of the season in a truly unique and memorable way.


Closure
Thus, we hope this article has provided valuable insights into DIY Christmas Pictures 2024: Capture the Magic with Personalized Creations. We appreciate your attention to our article. See you in our next article!