Christmas Present Drawing Easy 2024: A Step-by-Step Guide for Beginners
Related Articles: Christmas Present Drawing Easy 2024: A Step-by-Step Guide for Beginners
- Christmas Planter Decorating Ideas For 2024: A Festive Guide
- Christmas Pictures Carolers 2024: The Joyful Spirit Of The Season
- Christmas Pictures Aesthetic 2024: Capture The Magic Of The Holidays
- Christmas Pictures For Kids To Draw 2024
- Christmas Party Nights Near Me Cheap 2024: Festive Fun On A Budget
Introduction
In this auspicious occasion, we are delighted to delve into the intriguing topic related to Christmas Present Drawing Easy 2024: A Step-by-Step Guide for Beginners. Let’s weave interesting information and offer fresh perspectives to the readers.
Table of Content
Video about Christmas Present Drawing Easy 2024: A Step-by-Step Guide for Beginners
Christmas Present Drawing Easy 2024: A Step-by-Step Guide for Beginners

The festive season is upon us, and with it comes the joy of gift-giving. If you’re looking for a thoughtful and creative way to show your loved ones you care, why not try your hand at drawing a Christmas present? It’s a fun and easy way to add a personal touch to your presents, and it’s sure to be appreciated by all who receive them.
In this comprehensive guide, we’ll walk you through the steps of drawing a Christmas present, from the basic shape to the intricate details. Whether you’re a seasoned artist or a complete beginner, we’ve got you covered. So grab your pencils, markers, or crayons, and let’s get started!
Materials You’ll Need:
- Pencil
- Eraser
- Paper
- Ruler (optional)
- Markers, crayons, or colored pencils
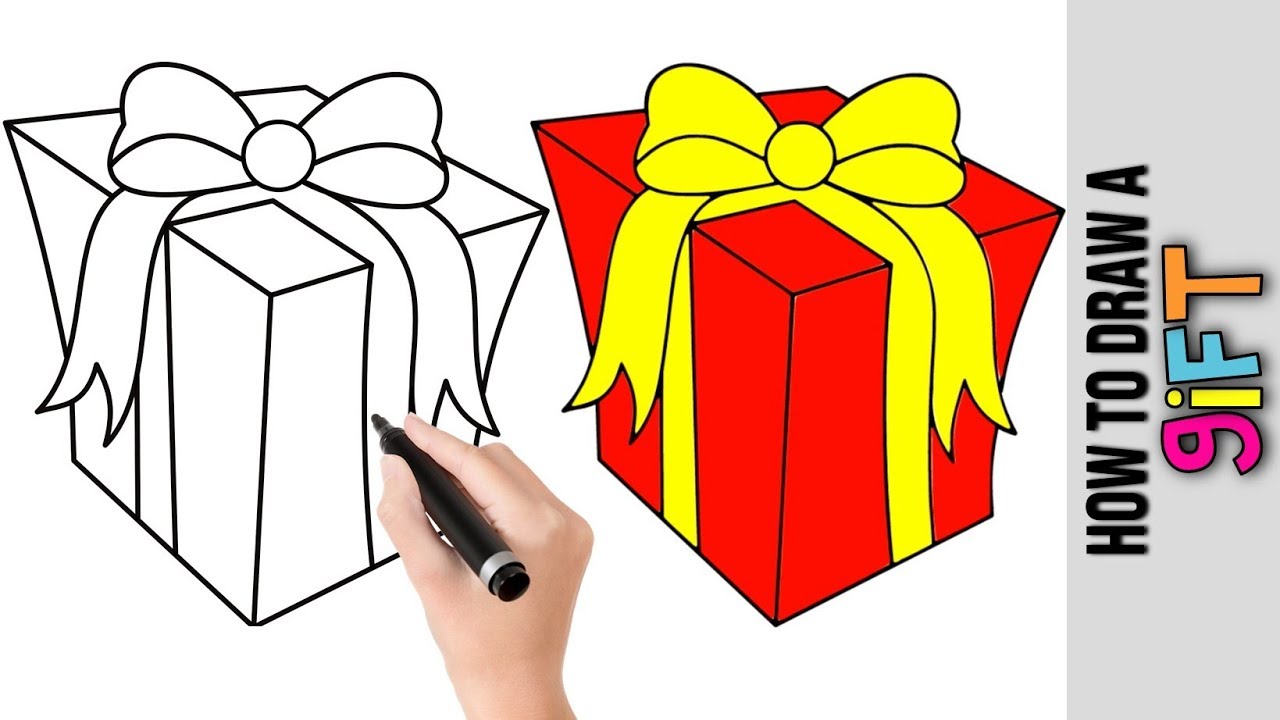
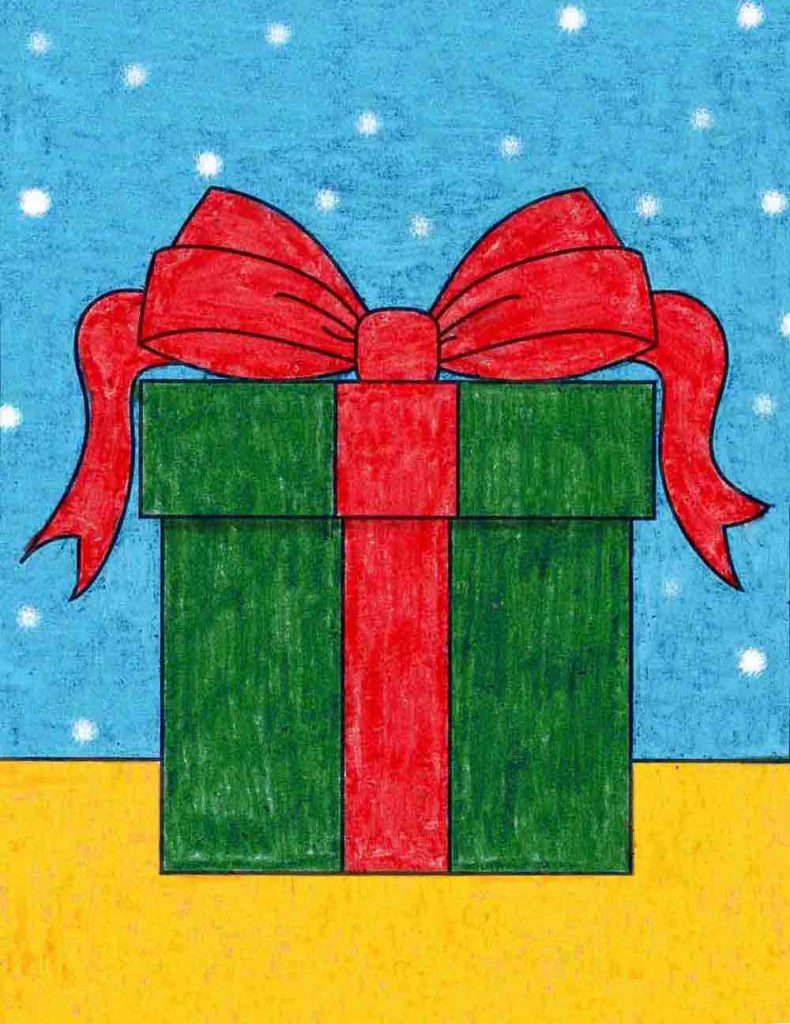
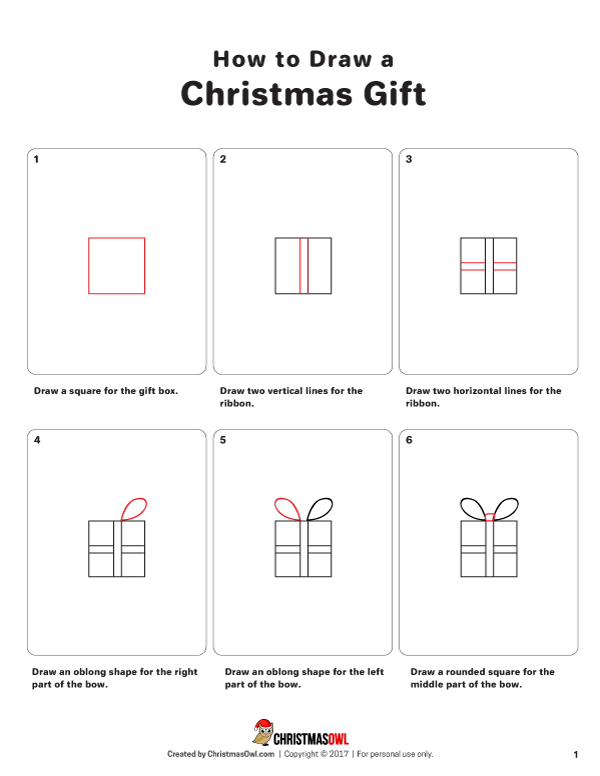
Step 1: Draw the Basic Shape
Begin by drawing a rectangle to represent the present. The proportions of the rectangle will depend on the size and shape of the present you want to draw. If you’re unsure, you can use a ruler to measure out the desired dimensions.
Step 2: Add the Bow
To add a festive touch, draw a bow on top of the present. Start by drawing a small circle in the center of the rectangle. Then, draw two lines extending from the circle to form the loops of the bow. Finally, add two more lines crossing over the loops to create the knot.
Step 3: Draw the Ribbon
Next, draw the ribbon that wraps around the present. Start by drawing a line from one corner of the rectangle to the opposite corner. Then, draw another line parallel to the first, slightly below it. Finally, connect the ends of the two lines with two short lines to form the ribbon.
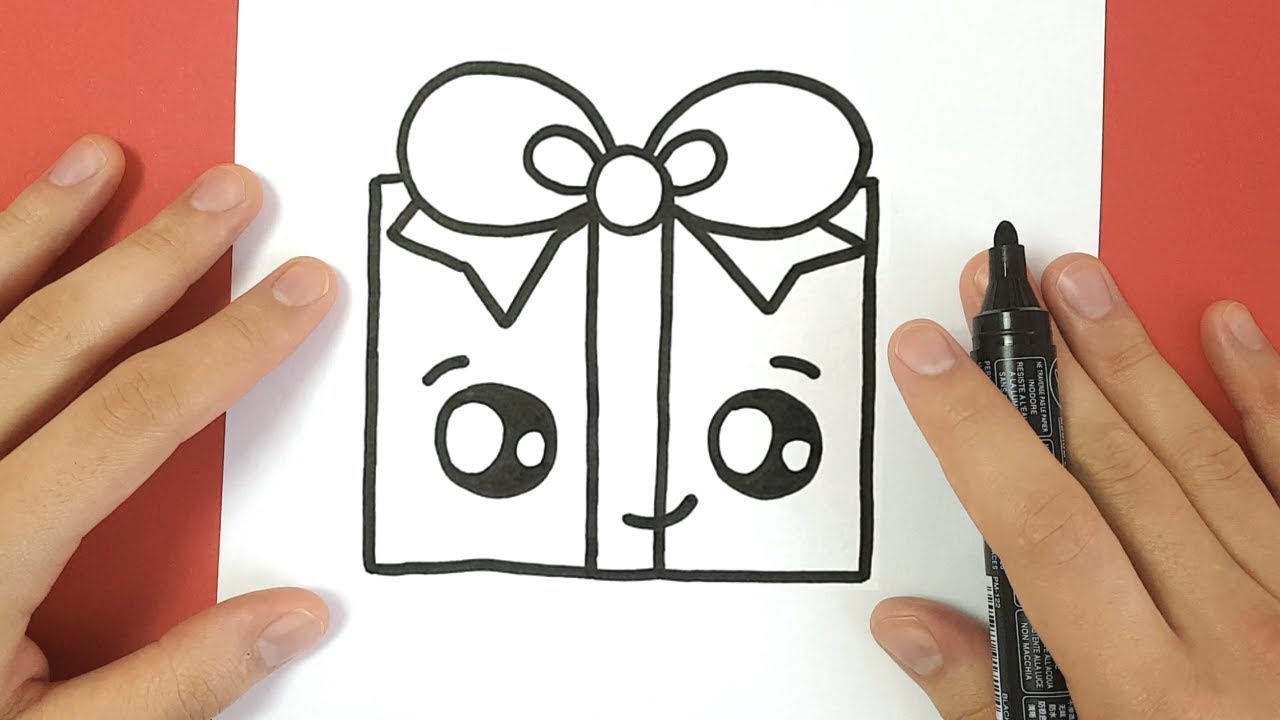
Step 4: Add the Details
Now it’s time to add the details that will make your present look more realistic. Draw lines along the edges of the rectangle to represent the folds in the wrapping paper. You can also add a tag or label to the present, if desired.
Step 5: Color Your Present
Once you’re happy with the outline of your present, it’s time to add some color. You can use markers, crayons, or colored pencils to create a festive and eye-catching design. Be creative and have fun with it!
Step 6: Add the Finishing Touches
To finish off your Christmas present drawing, you can add some additional details, such as glitter, sequins, or stickers. You can also write a message or draw a picture on the tag or label.
Tips for Beginners:
- Start with a light pencil sketch and gradually darken the lines as you add details.
- Use a ruler to ensure that your lines are straight and even.
- Don’t be afraid to experiment with different colors and patterns.
- If you make a mistake, simply erase it and try again.
- Practice makes perfect! The more you draw, the better you’ll become at it.
Conclusion:
Congratulations! You’ve now successfully drawn a Christmas present. With a little practice, you’ll be able to create beautiful and unique drawings that will impress your friends and family. So spread some holiday cheer this season by giving the gift of your own artwork.


Closure
Thus, we hope this article has provided valuable insights into Christmas Present Drawing Easy 2024: A Step-by-Step Guide for Beginners. We appreciate your attention to our article. See you in our next article!